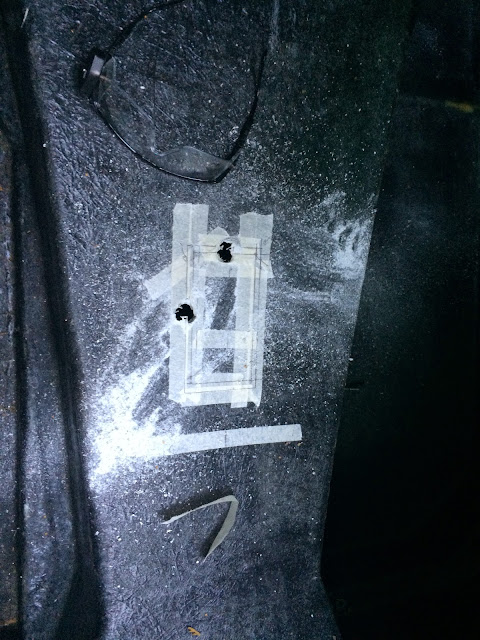
Transmission tunnel to be precise, for the gear shifter lever thing.
It's not made easy that you cannot exactly rely on the transmission tunnel frame on the chassis as this is designed to not touch the actual fibreglass so instead a series of reference points from the body to chassis bolt holes are used instead. Coupled to this that its a 3d structure and not a flat plain makes it much more difficult. So I set about working out how I could transpose the location fixed to the chassis tunnel frame to the top of the fibreglass body 50ft away outside.
Having considered creating some sort of 3d mesh set of dimensions I came to my senses, set up a plumb bob line and combined that with tape measure and protector and the right position was marked up.
Adding in additional tolerances all round for fitting this should be ok.
Marking the centreline of the tunnel is a complete red herring as I have no idea if the frame on the chassis sits perfectly symmetrically beneath it or not. And I'm not about to waste time measuring for curiosity's sake either.
Next a couple of round holes for cable conduit and end of the lever pivot bolt clearance and it's ready for cutting out.
Add one masked loony with a fast spinning abrasive tool...
And we get the obligatory photoshop of one of my trainers. I might have to go back and count how many times they've got in on the act.
More importantly one hole is cut. That's the last of the big prefit body jobs. One more small hole to open up in the engine bay and that will be ready.
Unlike the wire loom knitting that I'm still to finish sorting.


No comments:
Post a Comment