Monday, April 15, 2013

Painting

I've decided that instead of painting in bits and pieces i.e. front left, front right etc that I would do it in a large batch. So once everything was cleaned and prepped with the acid etch from POR15 then it was a case of ensuring that I would be around for a day to go at it in one go.

The POR15 rust prevention paint needs to be finger drag cured for next coat. If it's totally dried then the next coat will not bond properly and compromise the protection. At 5 degrees in the garage this equated to about 2 hours drying time.

I did two coats rust preventative and then a coat of chassis black over the top to ensure UV protection / extra protection.

I rigged up a 'butchers rail' from rafters in garage with coat hanger meat hooks to be able to paint as many parts as possible in one go.


So we have to take shiny parts                               and acid etch 


string them up


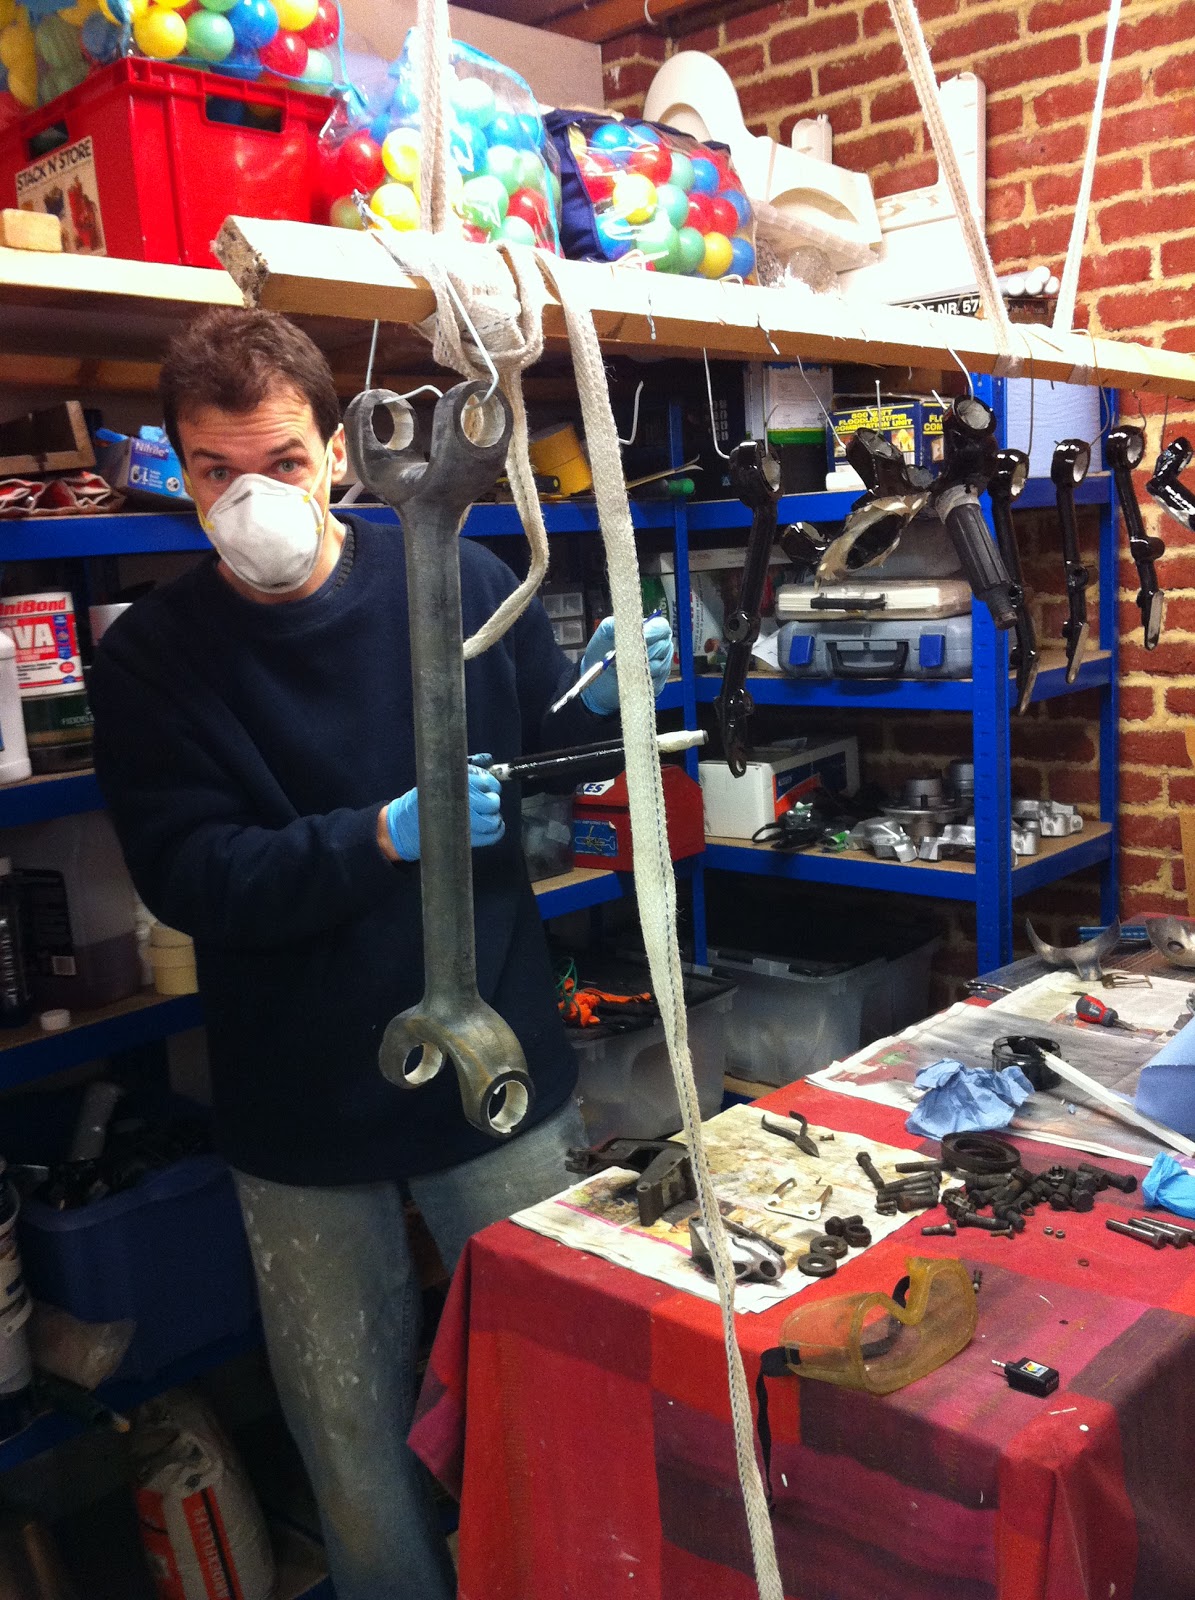
Just add strange masked man and paint 


and behold the end result... and I've nearly run out of things to do.
 
Need to source bearings and bushes etc to ready these for chassis attachment


Sunday, April 14, 2013

How complicated does it need to be?

Hand brake callipers. Do they need to be made from about 40 parts? Ok a slight exaggeration but really?

Actually, they are quite clever. There is a spring controlled ratchet inside the main lever arm which acts as a self adjustment mechanism. Once fitted and checked against a disc a split pin locks the control screw. From that point on if there is excessive wear on the handbrake pads the ratchet will tighten up the self adjust nut ensuring optimum contact pressure on the handbrake. That's the theory.

I've tested the mechanism to ensure it's working as these things become virtually inaccessible once fitted to the car.

 
Dismantle and inspect

Clean and etch

Paint and bake in the oven

Re-assembled with internals thoroughly greased

Rear Callipers part 2

Right, back from many trips to Ireland visiting a customer plus a holiday in Devon I'm ready to finish off the rear callipers (thanks to Ed Ward of Wards for supplying the parts at a reasonable cost) by a final clean out and rebuild.

Not going into masses of detail here, summary is that the halves need a very good clean and de-dust. Using red rubber grease on the seal insertion and pistion insertion. Pop the dust boot and ring on and then put the halves back together and then assemble the hand brake callipers onto the completed brake assembly. All pretty straightforward.


Sunday, April 7, 2013

Rear hubs, front callipers

I have been undecided about whether to send rear hubs off for refurb or do myself. There are some relative complexities when putting bearings in to ensure the correct amount of float - i.e. play in the bearings to ensure they are running at optimal pressure, not too tight or loose.
There's videos on youtube showing how and plenty documented too.

I looked at costing up all the parts for the bearings etc to do the refurb and realised it was going to be cheaper to send to Wards to get a better result! The final thing that did it was whilst it took alot of thumping just to free one hub from it's bearings I then I discovered that someone in the past had clearly mashed one of the wheel studs and instead of replacing with another stud, had welded a bold through from the other side of the hub!

I can't imagine what this did to the balance of the rotating assembly but in the end speaking to Ward's they could resolve relatively easily...

Given that I would be sending off to Wards I sent the front callipers too.