Not happy with the length of brake pipe up to the master cylinder I've added a couple of lengthening pieces with joints.

Next I wasn't happy with the threads I've tapped for the fuel tank so I'm changing them from M8 to M10 to beef up the fixings and then I'm thinking of making a couple of additional straps as an added safety feature. This might be a bit overkill given I've done all the bolts as M10s now.
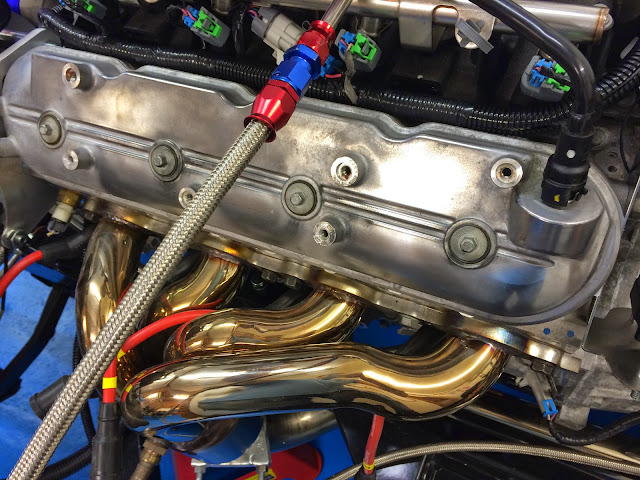
I had originally planned to move the coil packs, which hideously clutter the valve covers, after the body goes on however access is easier now so I've made a start. The below top right shows the kind of thing I'm talking about. In the car this engine was intended for these would be covered over by more plastic / sound proofing.


So using a combination of the bracket shown below plus some soldering skills it should be easy to lengthen the signal cables allowing all to be tidied.

Below - one down, 6 more to go (for this bank)


Above, lengthened signal wires done and all joints tested with meter to make sure all the conductivity is good. Keeping the cable tidy and protected with convoluted tube is essential.


Above and below - nearly finished. I can then use the old bolt holes to fix spark lead spacers to have the spark plug leads neatly led across the valve cover in parallel... Or maybe get some new shiny valve covers??
No comments:
Post a Comment